Visual Studio Installation
Visual Studio installation
Download Visual Studio community edition, and run the installer.
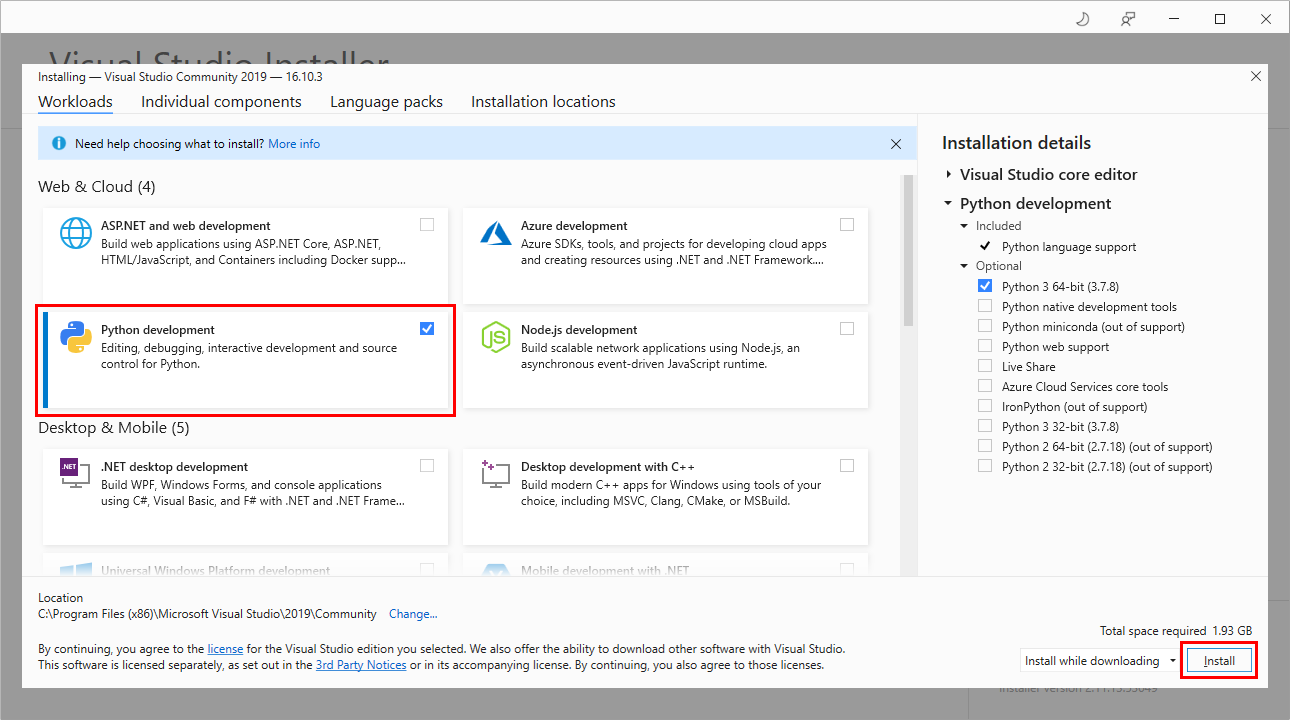
In the install options window select the Python development option, and click the ‘Install’ button:
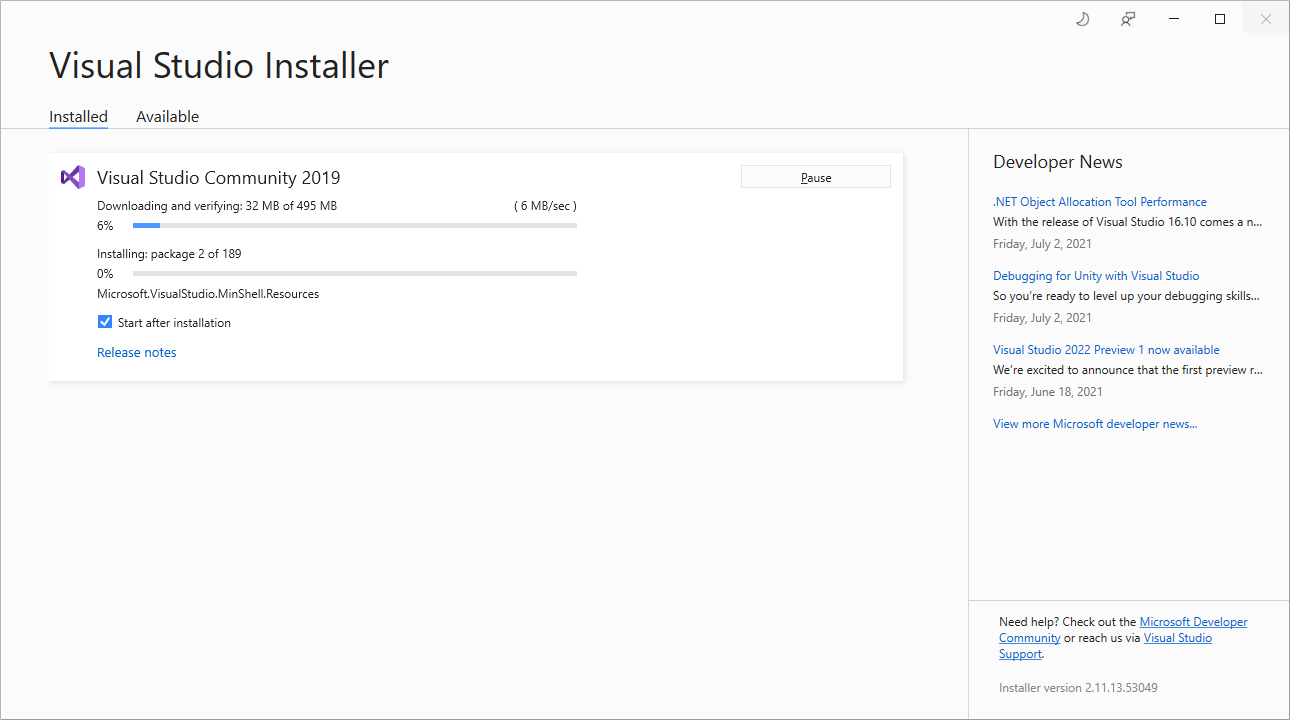
Wait for the installer to complete, and click the ‘Launch’ button:
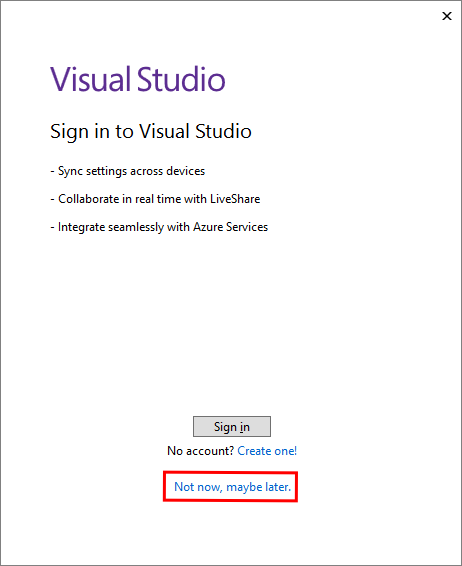
Click ‘Not now, maybe later’ link:
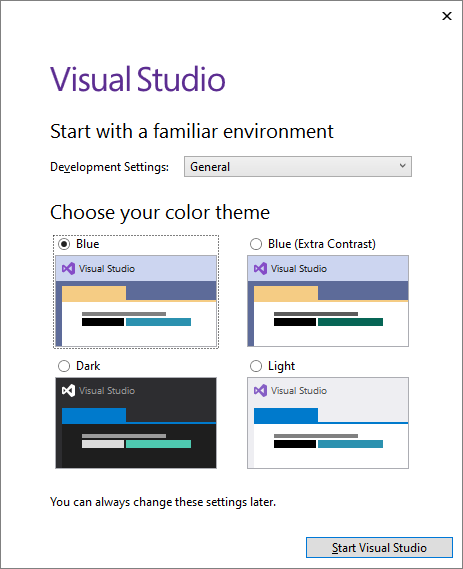
Click the ‘Start Visual Studio’ button:
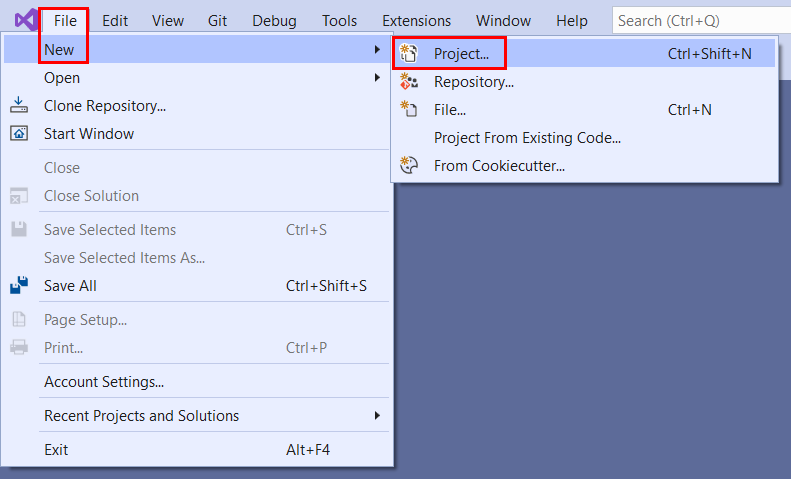
Select File –> New –> Project:
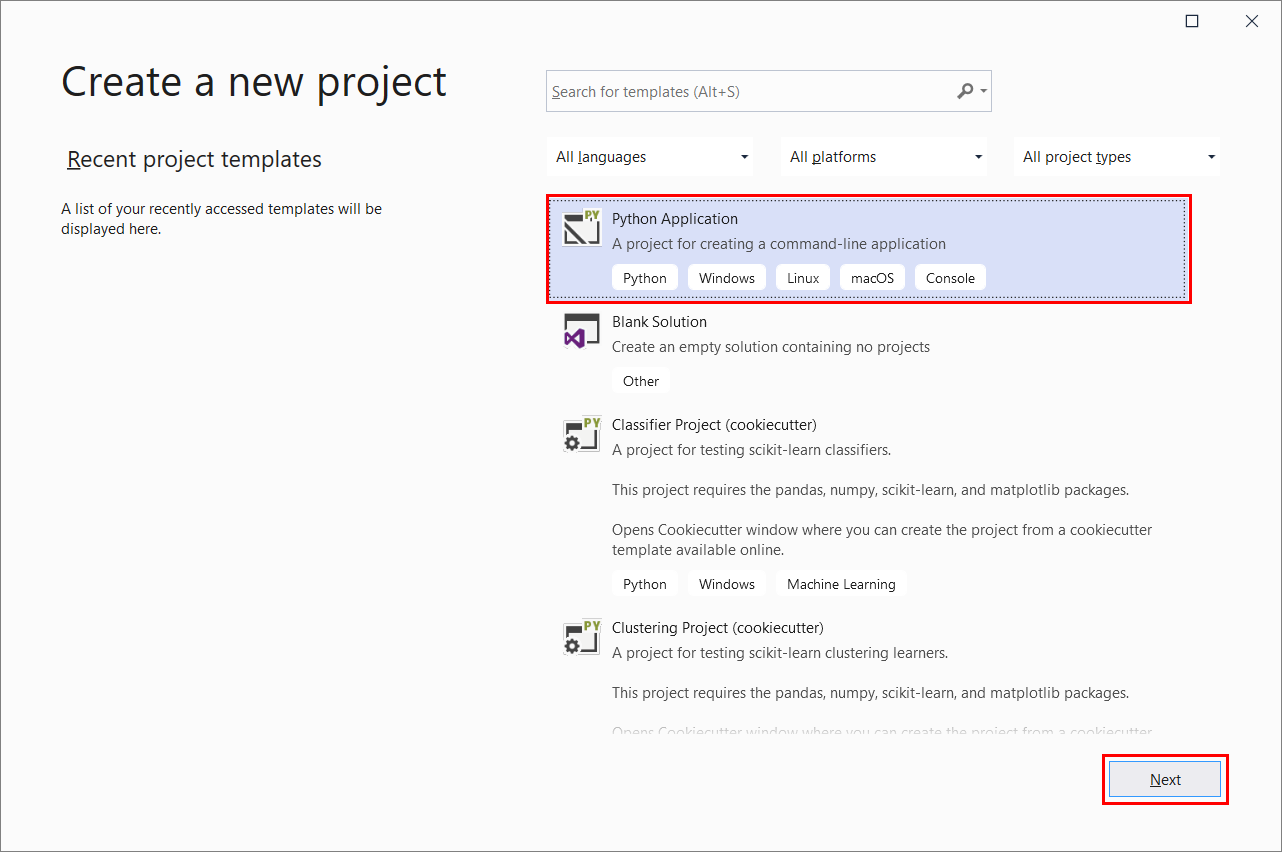
Select Python application, and click the ‘Next’ button:
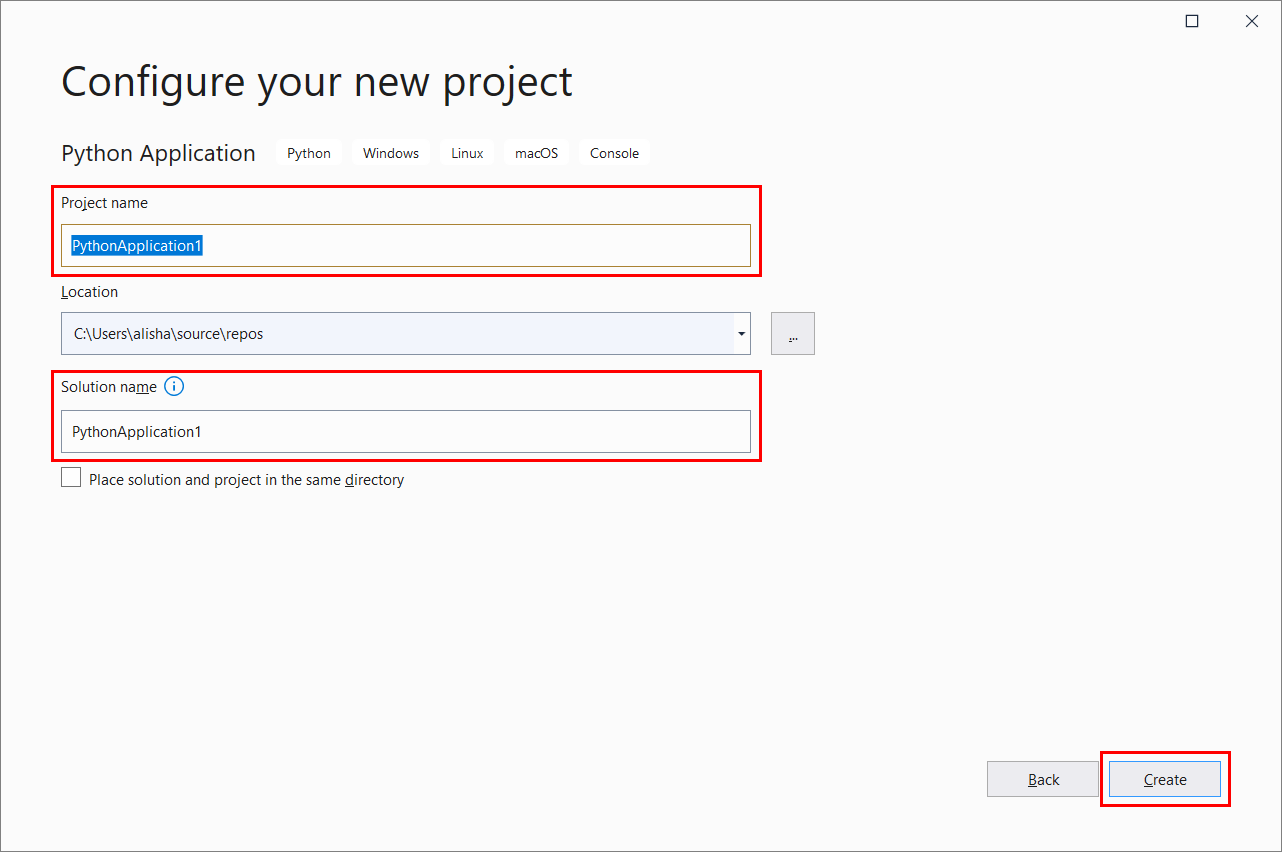
Specify the project name, location, and solution name, and click the ‘Create’ button:
Visual Studio opens the project’s Python code file for editing.