In this article, I use Hyper-V to install a Windows 10 virtual machine (on a Windows machine). This is useful when performing development work that requires installing software runtimes such as Java.
Prerequisites
- See Windows 10 Hyper-V System Requirements documentation for compatibility requirements for your computer.
Install Hyper-V
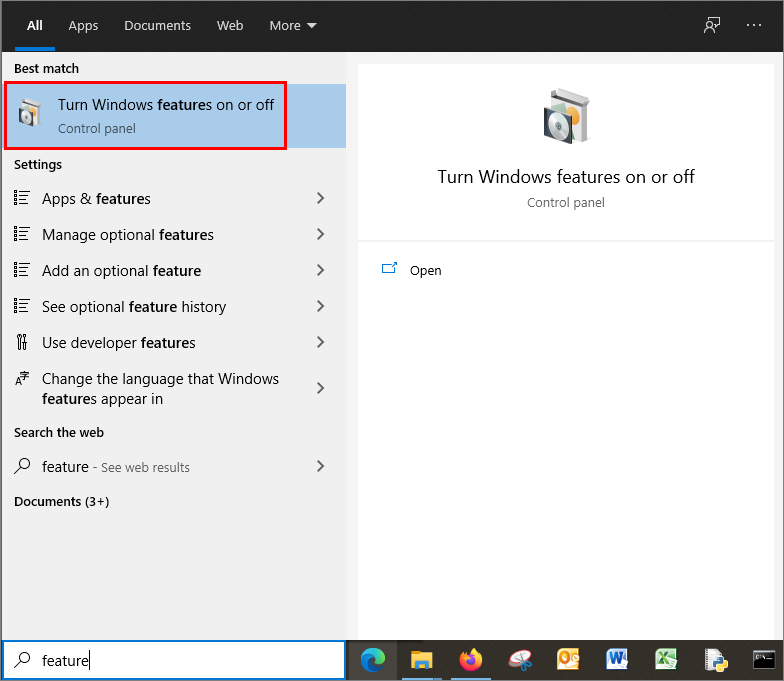
Search for “feature” in the Windows search bar and select Turn Windows features on or off:
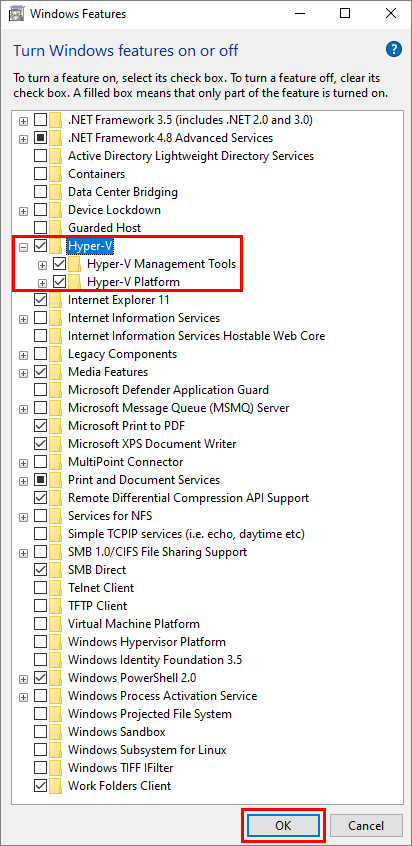
Select Hyper-V and expand the menu to check that Hyper-V Management Tools and Hyper-V Platform are selected, then select OK :
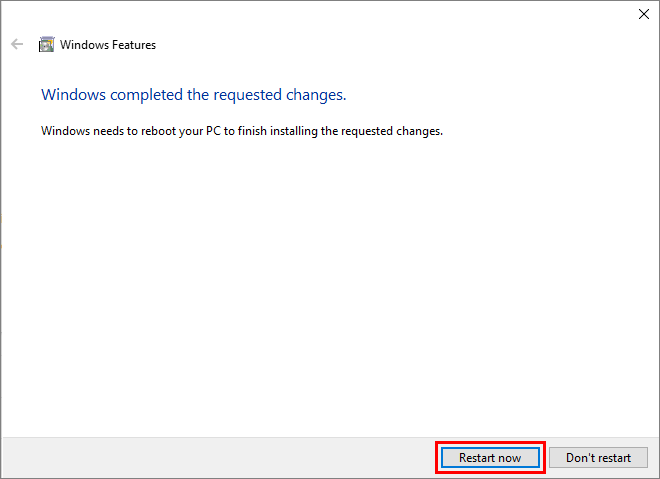
If Windows needs to reboot your PC, select Restart now:
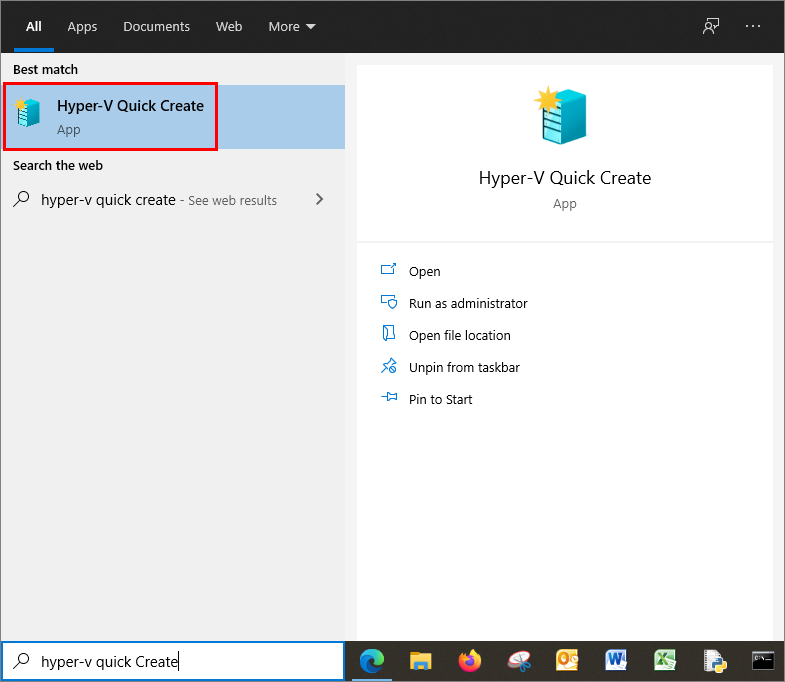
Search for “hyper-v quick” in the Windows search bar and select Hyper-V Quick Create:
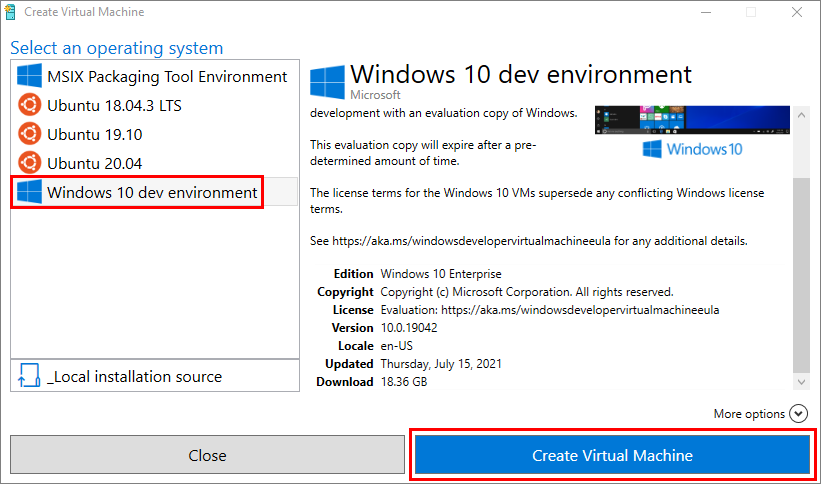
Alternatively, search for “windows administrative tools” in the Windows search bar and select Windows Administrative Tools. Browse the list of tools and select Hyper-V Quick Create.Select Windows 10 dev environment and Create Virtual Machine:
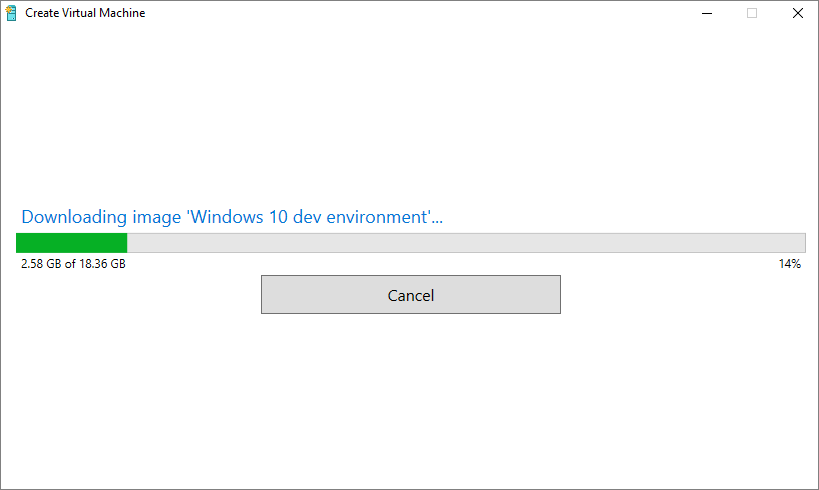
Wait for download, verification, and extraction of the Windows 10 dev environment image:
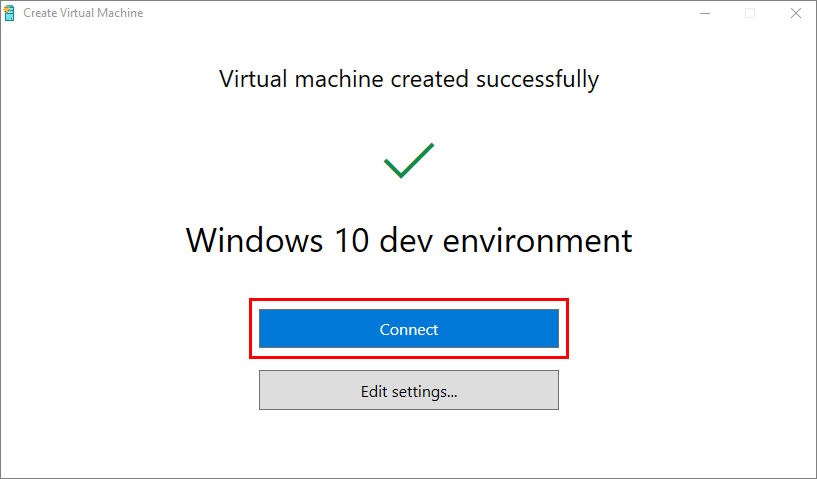
Select Connect:
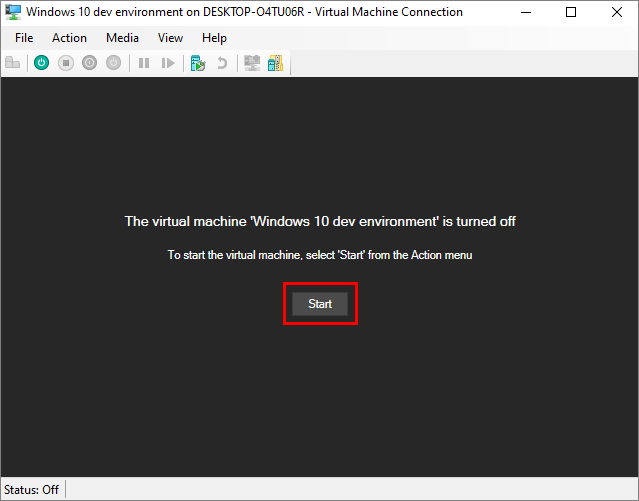
Select Start to launch your virtual machine:
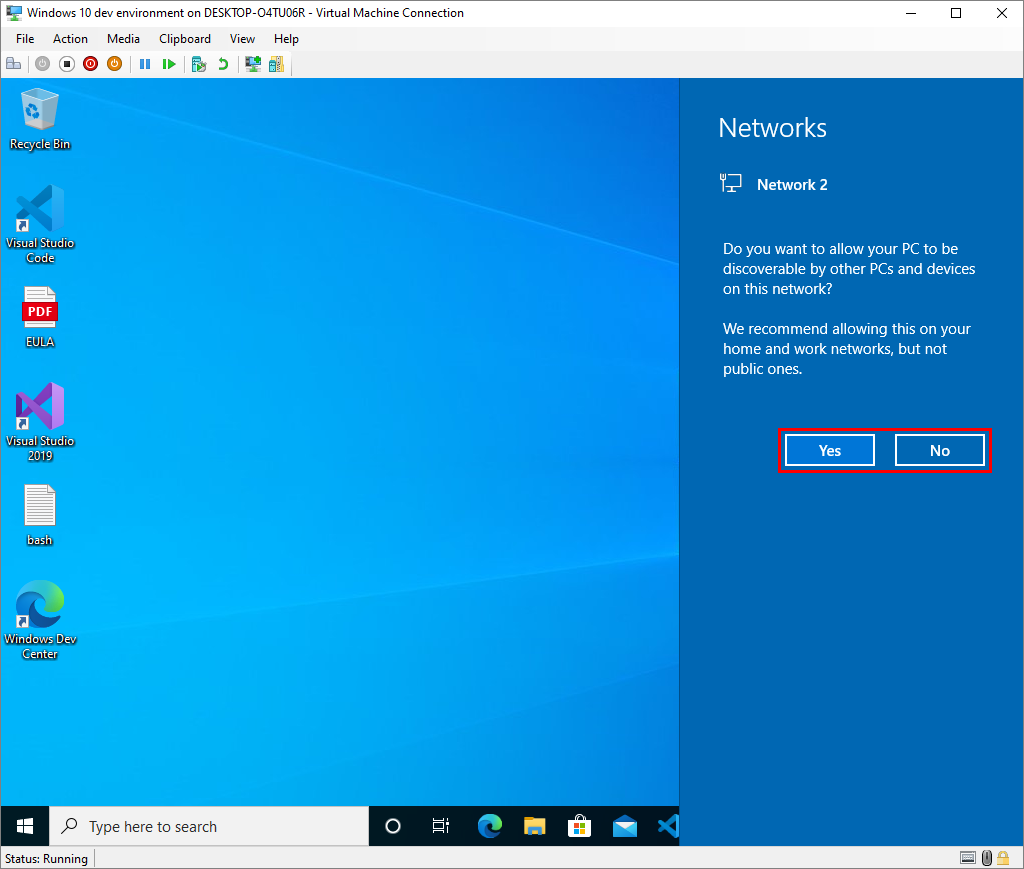
Select whether you want to allow your PC to be discoverable by other PCs and devices:
Next steps
- Learn how to Share devices with your virtual machine.