Prerequisites
- Open a Microsoft Azure account.
- Create an Azure SQL database
Install pyodbc on Windows
In a command prompt window, run: pip install pyodbc
Add a table to your Azure SQL database
Use the Python pyodbc library to create, populate, and delete a table in your Azure SQL database.
Python code
| |
Microsoft Azure Query editor
You can use the Microsoft Azure Query editor to query your SQL database:
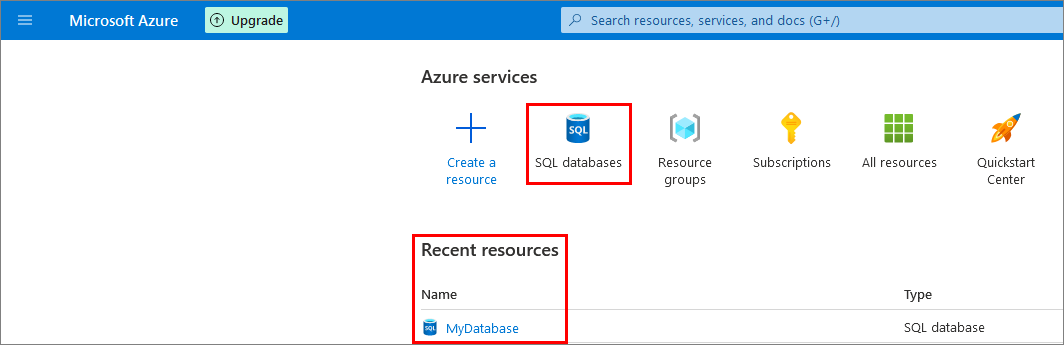
Sign into your Microsoft Azure account.
Search for your database in ‘Recent resources’ or select the ‘SQL databases’ button:
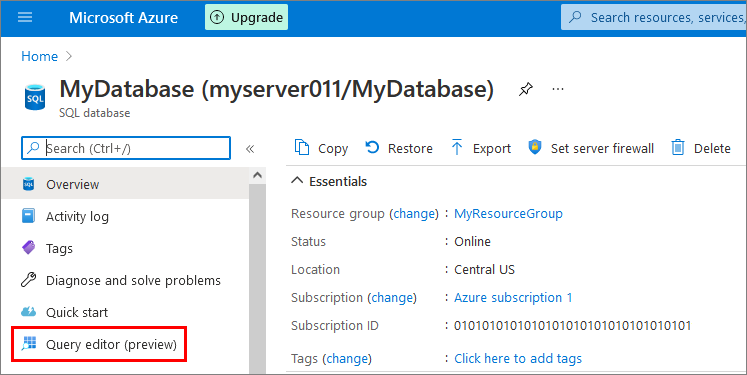
Select Query editor and then sign-in:
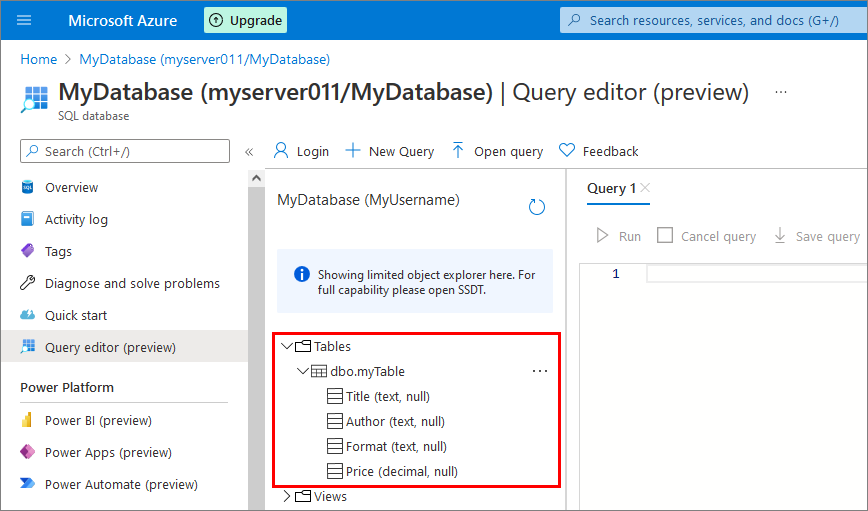
Select Tables and expand the node to see your tables:
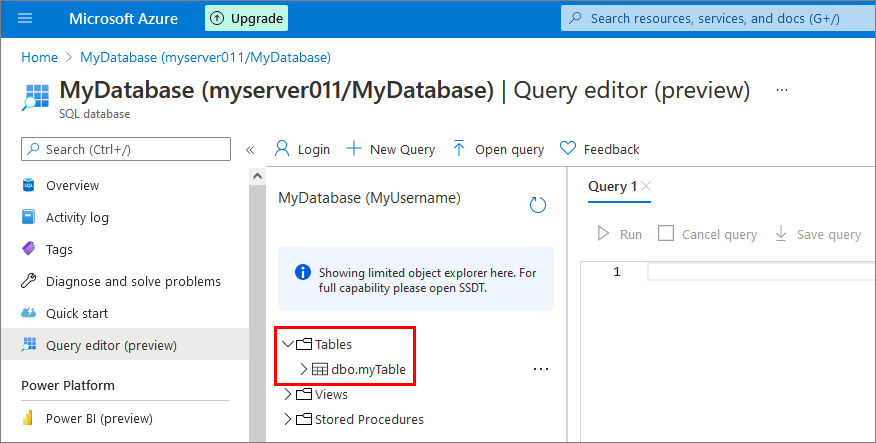
Expand your table node to see column names and types:
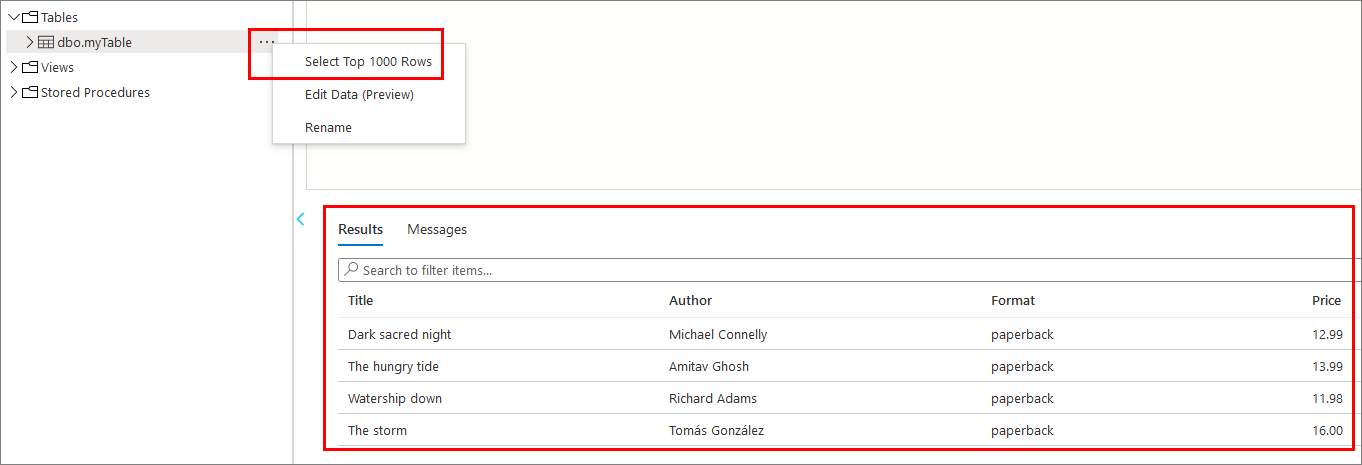
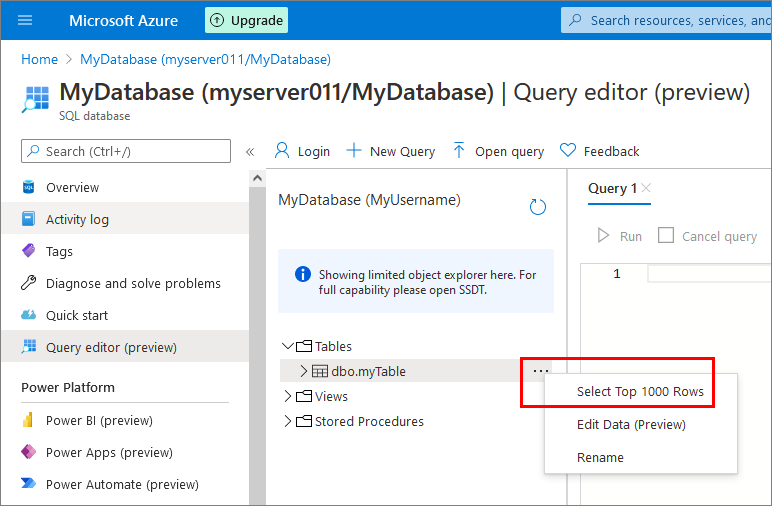
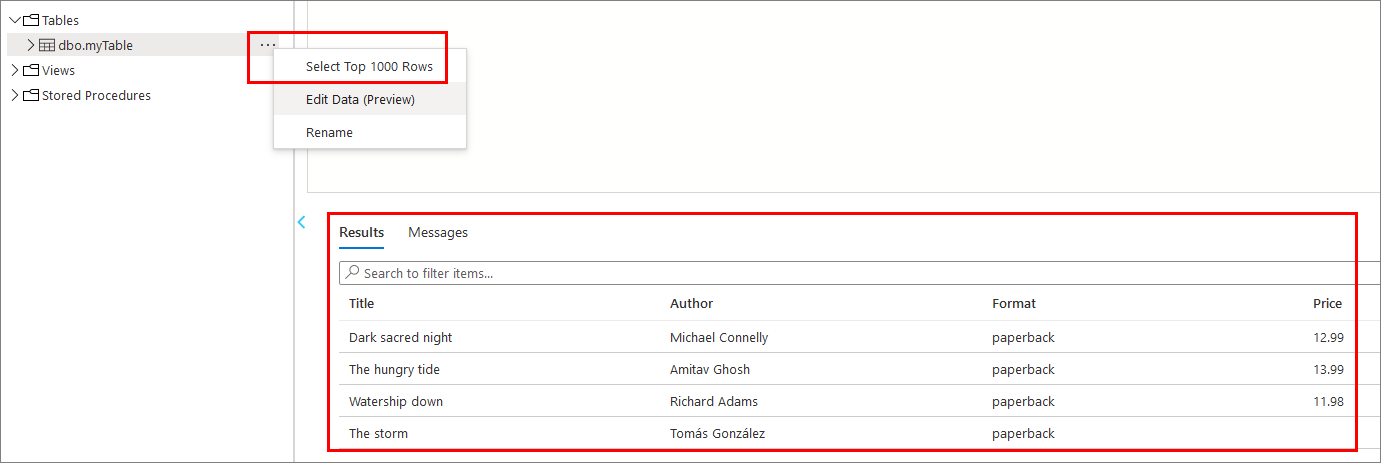
To see the data in your table, ‘Select Top 1000 Rows’ from the ellipsis menu:
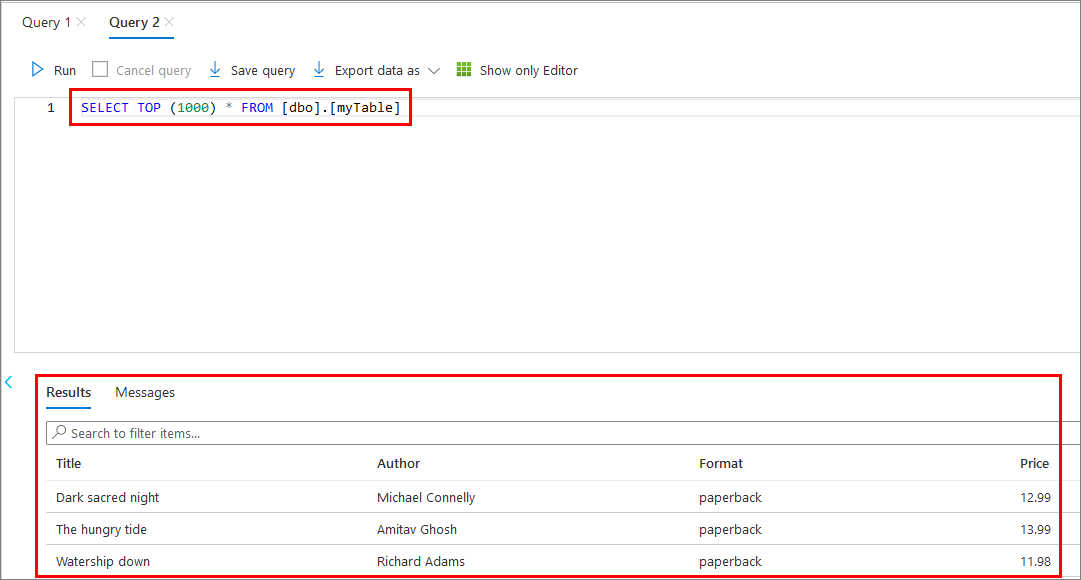
Run the auto-generated query:
To run a different query, select ‘New Query’:
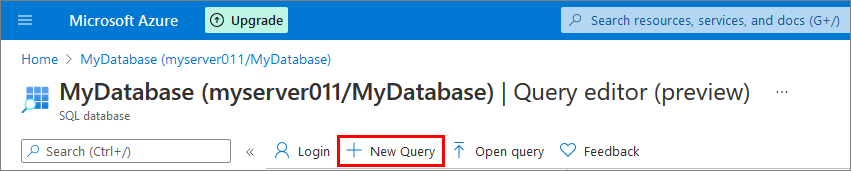
Enter a new query (1) and select ‘Run’ (2):
Check the Messages window to see the status of the query (3).
To see the updated table, ‘Select Top 1000 Rows’ again from the ellipsis menu:
To update data, select ‘New Query’ (1), enter a query (2), and run the query (3):
Check the Messages window to see the status of the query (4).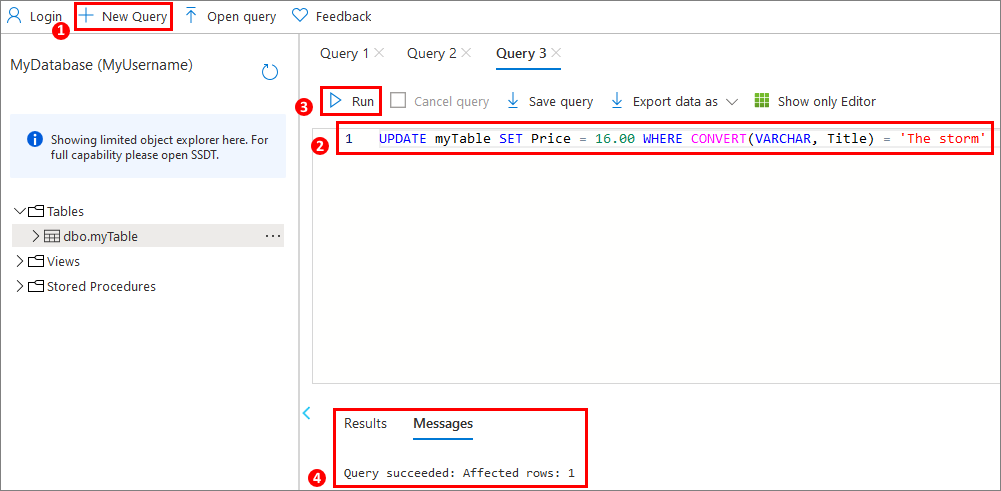
To see the updated table, ‘Select Top 1000 Rows’ again from the ellipsis menu: