Prerequisites
- Open a Microsoft Azure account.
Create an Azure SQL database
Sign into your Microsoft Azure account.
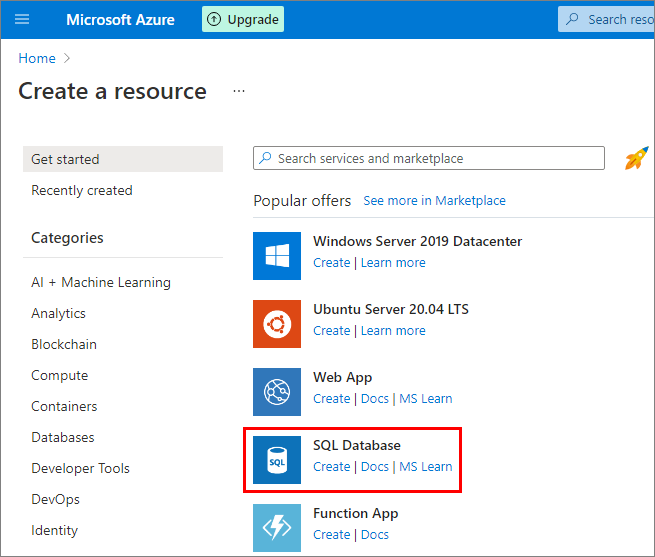
Select the ‘Create a resource’ button:

Select the SQL Database ‘Create’ link:
Fill out the database form:
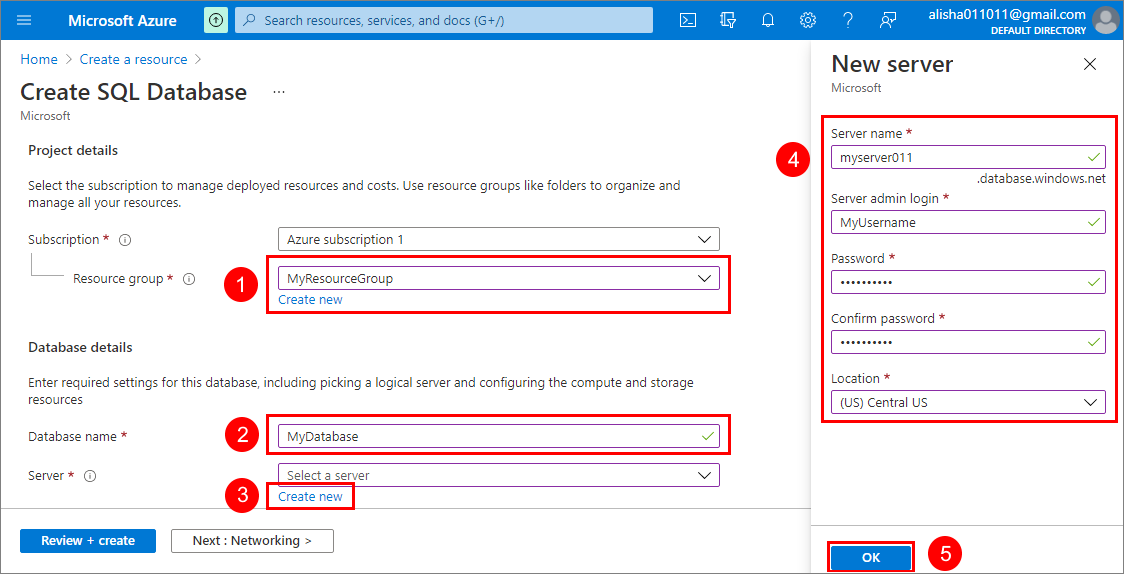
(1) Select your resource group (create one if it doesn’t exist).
(2) Enter a database name.
(3) Select the ‘Create new’ server link.
(4) Enter the server name, username, password, and your location.
(5) Select the ‘OK’ button.Select the ‘Review + create’ button:

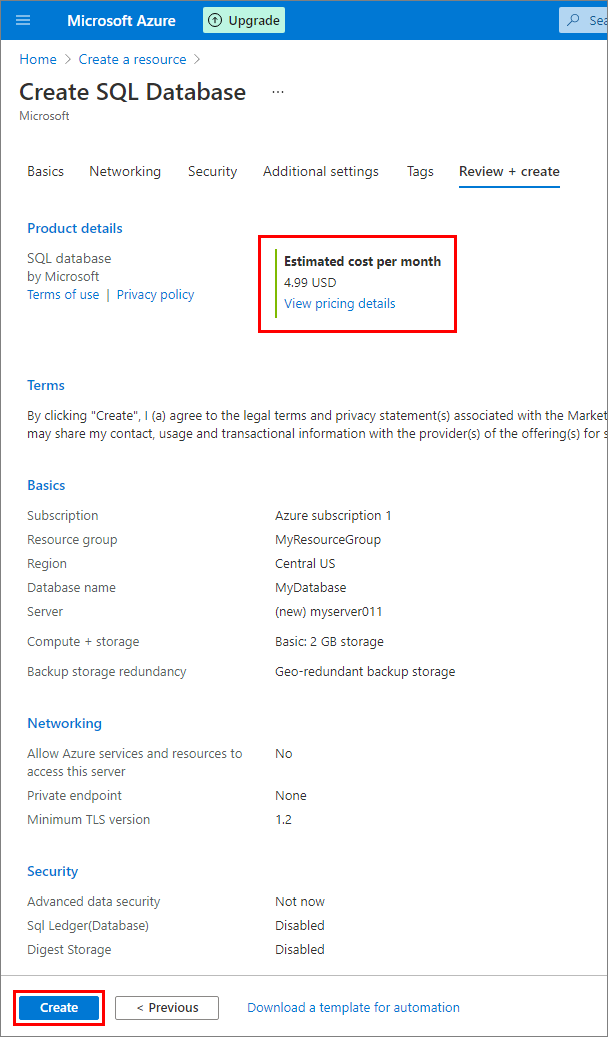
Select the ‘Create’ button:
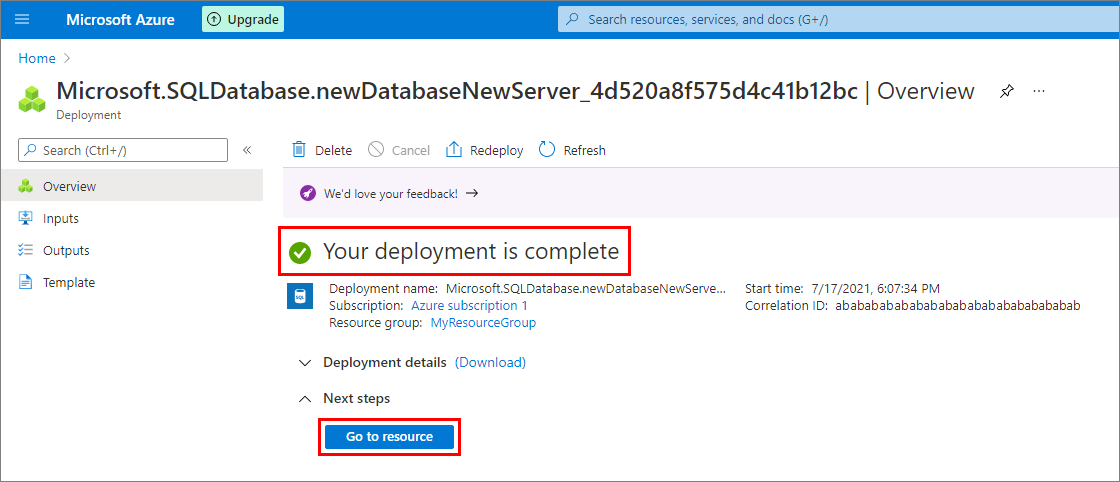
Wait while your database is being deployed:
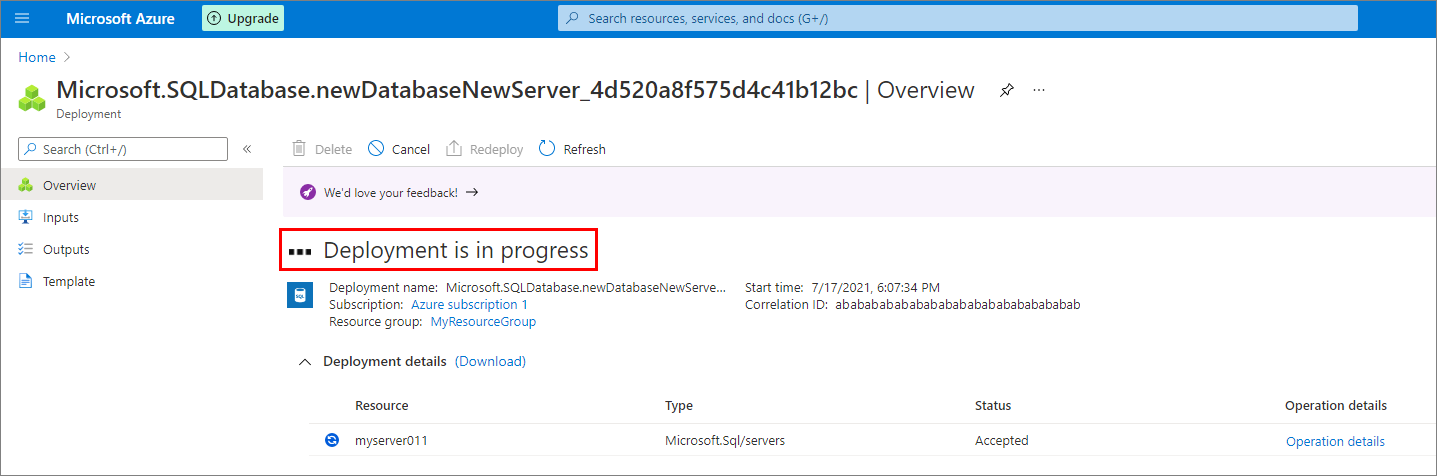
After your database is deployed, select the ‘Go to resource’ button:
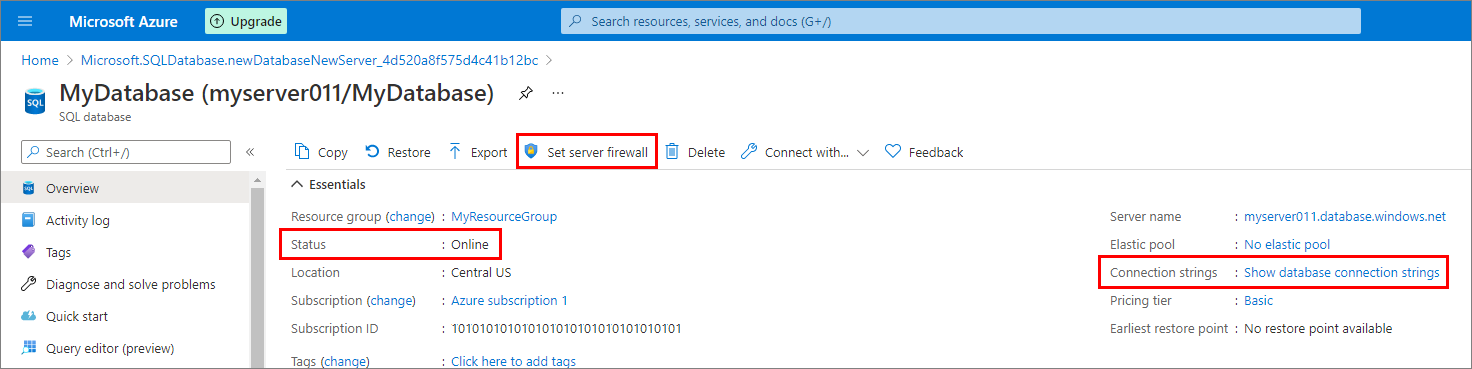
Select the ‘Show database connection strings’ link:
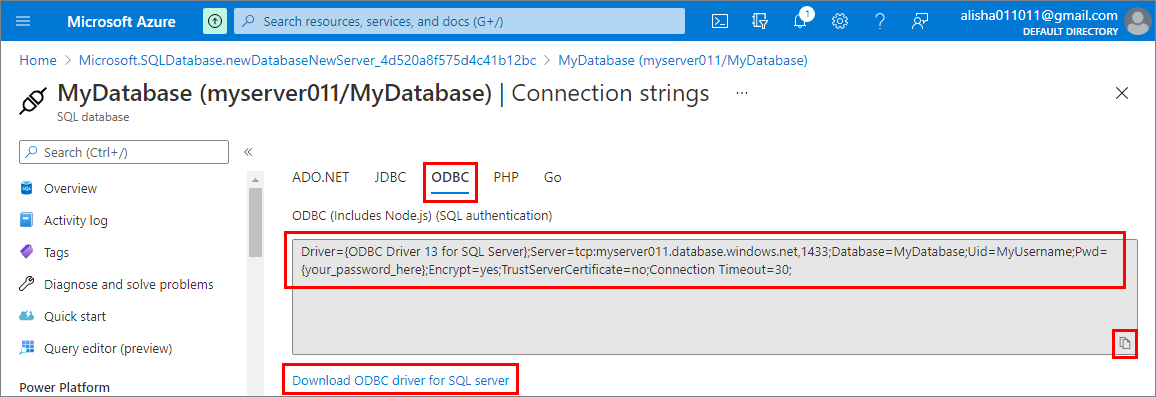
Save the connection string from the ODBC tab for later use. Download and install the Windows ODBC driver from the download link:
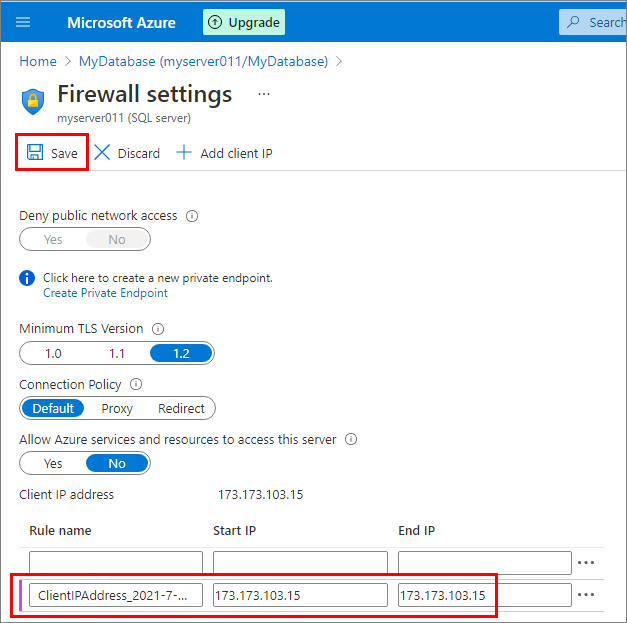
Browse back to the screen shown in step 9, and Select the ‘Set server firewall’ link. On the ‘Firewall settings’ page, select ‘Add client IP’ to populate a new firewall rule with your computer’s IP address:
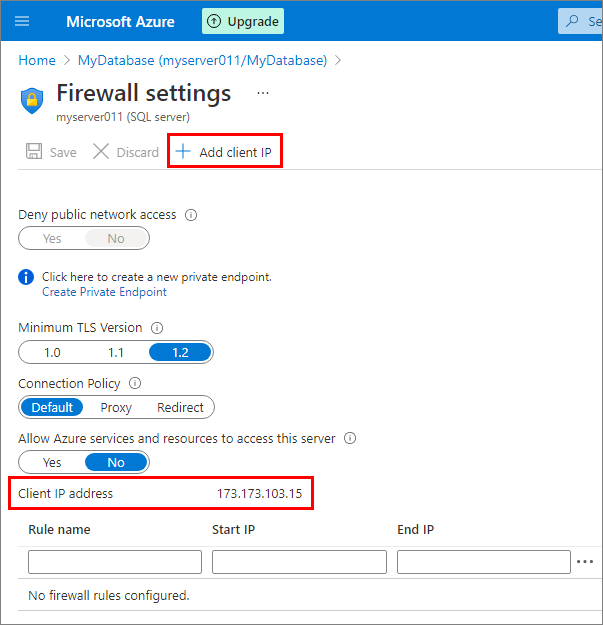
Select ‘Save’ to allow a database connection from your computer:
Now your new SQL database is ready to use.
Next steps
- Learn how to Connect to an Azure SQL database.