In this article, I use Azure Computer Vision to extract text from images (OCR).
Prerequisites
Obtain a Computer Vision API key
Sign into your Microsoft Azure account.
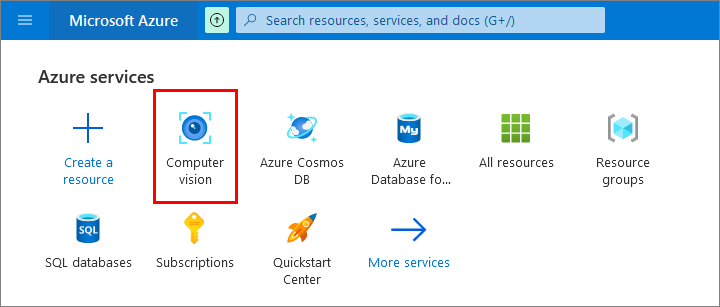
Select Computer Vision:
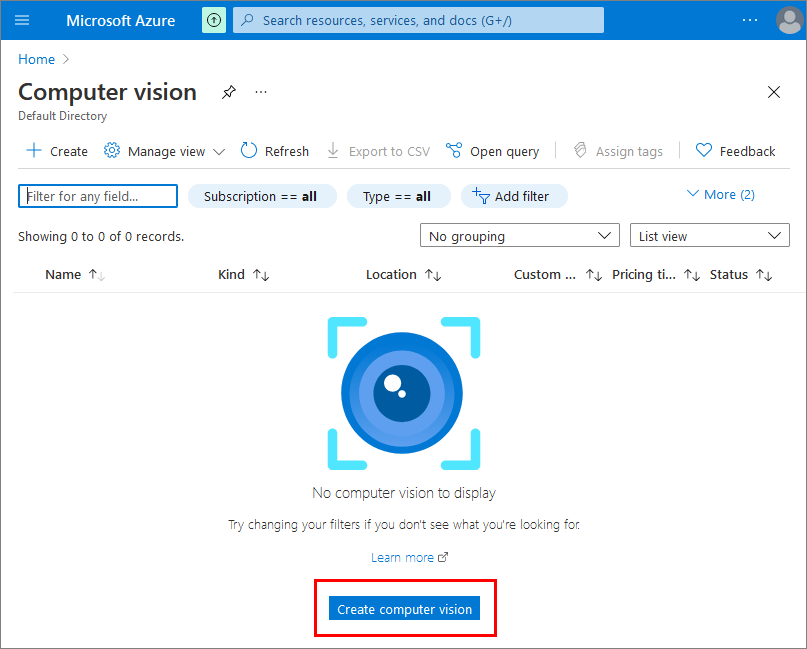
Select Create computer vision:
Fill out the Create Computer Vision form:
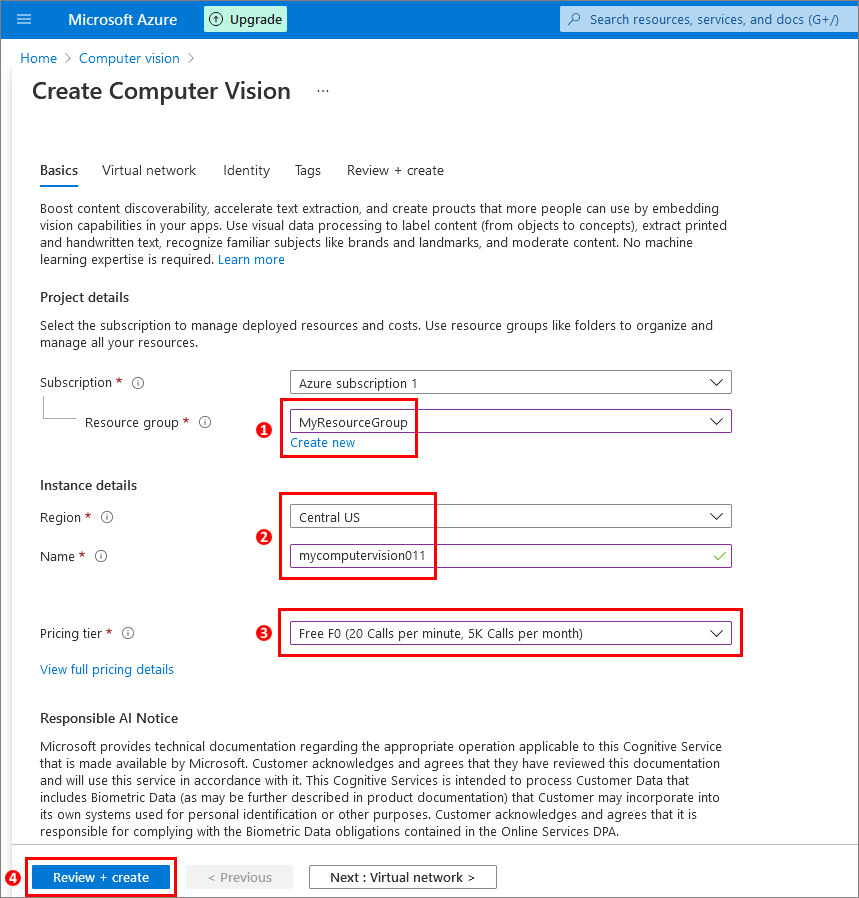
(1) Select your resource group (create one if it doesn’t exist).
(2) Select your region, and enter a name for your instance.
(3) Select a pricing tier.
(4) Click Review + create.
Select Create:

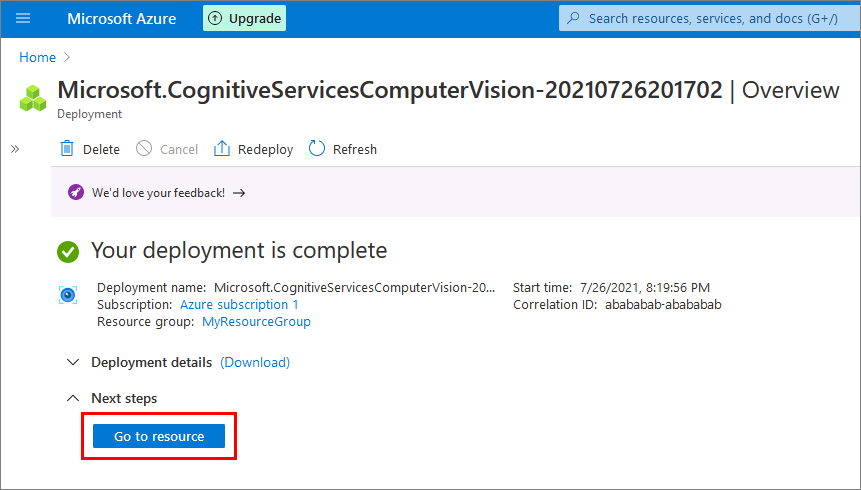
After your database is deployed, select Go to resource:
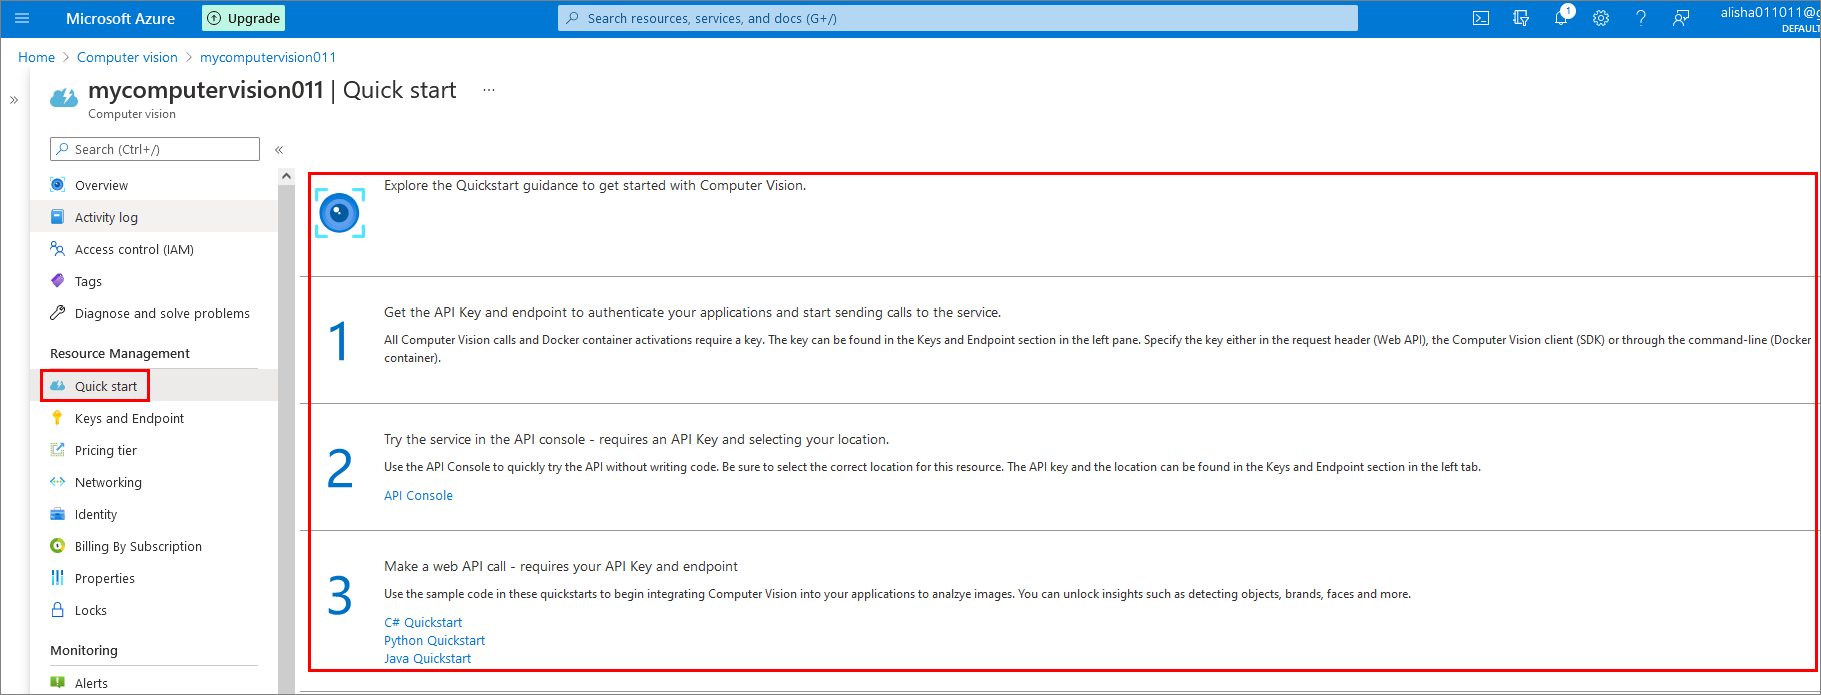
Read the Quick start guidance on using your API key and endpoint:
Select Keys and Endpoint to get your API key and endpoint which are required for making web API calls:

Install Python libraries
In a command prompt window, run: pip install --upgrade azure-cognitiveservices-vision-computervision
Then run: pip install pillow
Python code
 1
 2
 3
 4
 5
 6
 7
 8
 9
10
11
12
13
14
15
16
17
18
19
20
21
22
23
24
25
26
27
28
29
30
31
32
33
34
35
36
37
38
39
40
41
42
43
| # Based on Azure-Samples / cognitive-services-quickstart-code from GitHub (https://github.com/Azure-Samples/cognitive-services-quickstart-code/blob/master/python/ComputerVision/ComputerVisionQuickstart.py):
from azure.cognitiveservices.vision.computervision import ComputerVisionClient
from azure.cognitiveservices.vision.computervision.models import OperationStatusCodes
from azure.cognitiveservices.vision.computervision.models import VisualFeatureTypes
from msrest.authentication import CognitiveServicesCredentials
from array import array
import os
from PIL import Image
import sys
import time
# create a client:
subscription_key = "YOUR COMPUTER VISION KEY"
endpoint = "YOUR COMPUTER VISION ENDPOINT"
computervision_client = ComputerVisionClient(endpoint, CognitiveServicesCredentials(subscription_key))
# Get image path
read_image_path = os.path.join ("YOUR FILE PATH\\FILE NAME")
# Open the image
read_image = open(read_image_path, "rb")
# Call API with image and raw response (allows you to get the operation location)
read_response = computervision_client.read_in_stream(read_image, raw=True)
# Get the operation location (URL with ID as last appendage)
read_operation_location = read_response.headers["Operation-Location"]
# Take the ID off and use to get results
operation_id = read_operation_location.split("/")[-1]
# Call the "GET" API and wait for the retrieval of the results
while True:
read_result = computervision_client.get_read_result(operation_id)
if read_result.status.lower () not in ['notstarted', 'running']:
break
print ('Waiting for result...')
time.sleep(3)
# Print results, line by line
if read_result.status == OperationStatusCodes.succeeded:
for text_result in read_result.analyze_result.read_results:
for line in text_result.lines:
print(line.text)
print()
|

Next steps